Create An ASP.NET Web Application
1. From the Visual Studio 2010 File menu select New | Web Site. 2. Select the "ASP.NET Web Site" and enter a name and location path.  Add Grid Control to Page
3. From the Toolbox drag a KAX.Grid component to the default web page. Add Grid Data
4. Switch to the Design view of the default web page and Click the KAX.Grid's SmartTag. 5. From the SmartTag "Choose Data Source" section, click 6. In the Data Source Configuration Wizard, choose Access Database and click OK. 7. Choose a Microsoft Access database from APP_Data.  8. On the Configure the Select Statement page, select the wanted column to display. Set Grid Features
9. In KAX.Grid's SmartTag, you can enable grid paging, sorting, filtering scrolling and grouping.  10. Click the Open Property Builder, you can set some more properties to customize the grid. Such show header and footer, page size, border style and so on.  Set Grid Appearance
11. On the Skins dropdownlist, select the MetroBlue skin. 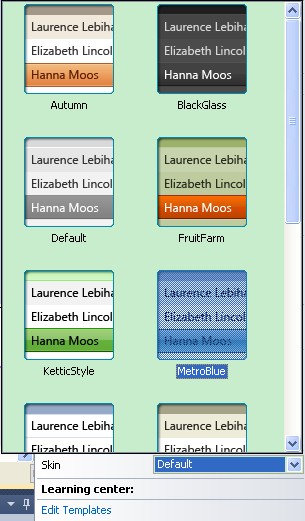
Now, let's have a look at the following screenshot, which shows the result of above grid settings. If you met any problem in the ASP.NET grid creating process, please feel free to contact us. By the way, the KAX.Grid control is compatible with .NET Framework 3.5 and later versions.  | 
ASP.NET AJAX UI Controls ASP.NET AJAX Chart UI Control ASP.NET AJAX Grid UI Control OverviewGetting Started Grid Columns ElementsTypesHeadersGrid Rows ItemsCommand ItemResizingReorderingSortingPaging Pager ItemDo PagingScrolling Do ScrollingScroll ShowingVirtual ScrollingGrouping Do GroupingGroup ExpressionsGroup ElementFiltering Do FilteringFiltering ExpressionSelecting Selecting RowsExportingOperating Edit ModeEdit RecordsValidationData BindingGrid Style |