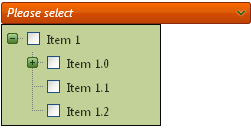
A DropDownTree is, as a matter of fact, a more advanced and versatile version of a DropDownList. It perfectly combines a dropdown control and a tree component. Currently it is being widely used in many web pages as well as software and application interface.
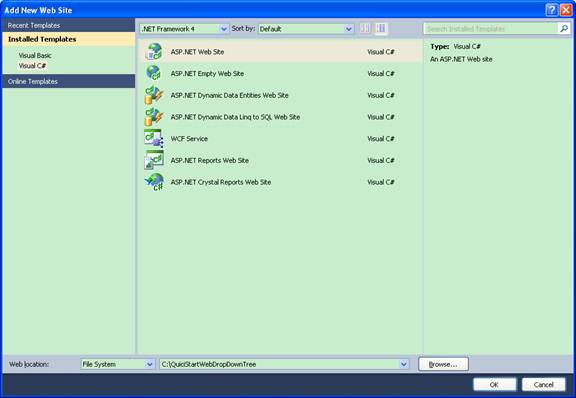
In the following sections, we will show you the detailed steps to help you get started with Kettic DropDownTree control. You will see how you can easily create an ASP.NET Web Application in the first place, add a DropDownTree control to your created web page, and then customize corresponding DropDownTree properties to meet your requirements. Create an ASP.NET Web Application
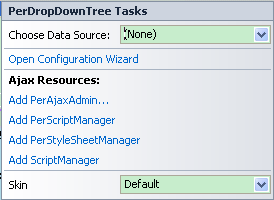
 Add DropDownTree Control to Page
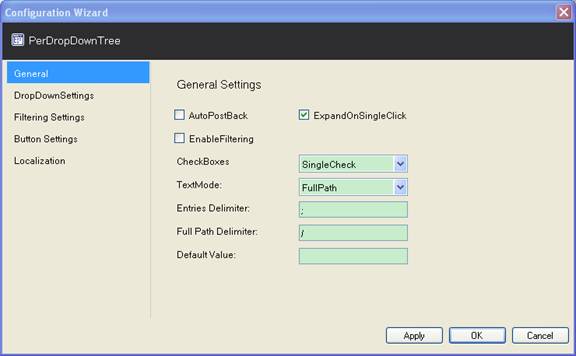
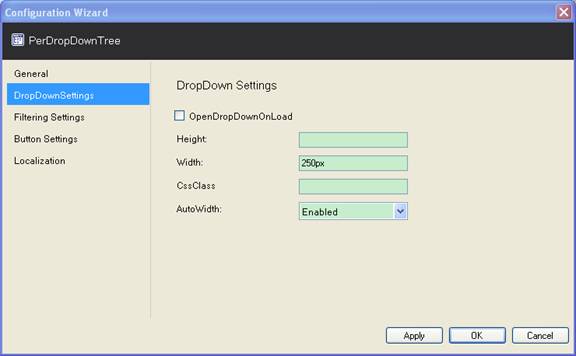
Custom DropDownTree Properties
     | 
ASP.NET AJAX UI Controls ASP.NET AJAX Chart UI Control ASP.NET AJAX Grid UI Control ASP.NET AJAX Barcode UI Control ASP.NET AJAX Button UI Control ASP.NET AJAX Calendar UI Control ASP.NET AJAX NavigationBar UI Control ASP.NET AJAX Captcha UI Control ASP.NET AJAX Color Editor UI Control ASP.NET AJAX ComboBox UI Control ASP.NET AJAX DataPager UI Control ASP.NET AJAX Dock UI Control ASP.NET AJAX DropDownList UI Control ASP.NET AJAX DropDownTree UI Control OverviewGetting Started Features CheckBoxesDelimitersSettingsFilteringData Binding ArrayList DataDataTable DataClient Prpgramming DropDownTree EventServer Programming DropDownTree EventASP.NET AJAX HtmlEditor UI Control ASP.NET AJAX FileManager UI Control ASP.NET AJAX Filter UI Control ASP.NET AJAX Input UI Control ASP.NET AJAX ListBox UI Control ASP.NET AJAX ListView UI Control ASP.NET AJAX ToolBar UI Control ASP.NET AJAX TabControl UI Control ASP.NET AJAX Menu UI Control ASP.NET AJAX ToolTip UI Control |