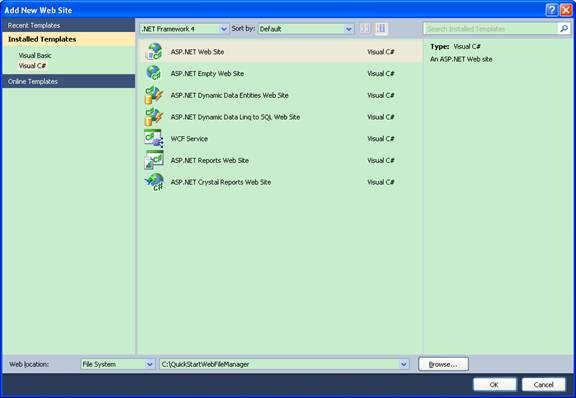
Read other FileManager related user manuals, and you will see this control can provide you with a variety of functionalities to integrate customized file management feature to your application. In this tutorial, we will provide you with step by step guide to show how you can create an ASP.NET web application with Kettic FileManager control integrated and customized. Create an ASP.NET Web Application
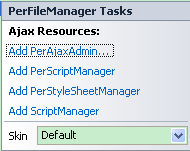
 Add FileManager Control to Page
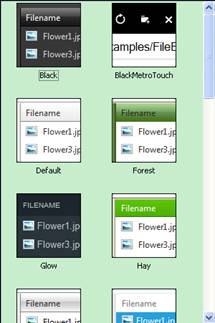
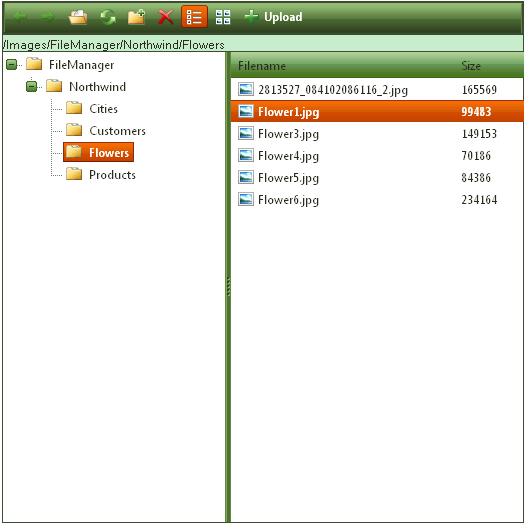
Customize FileManager Properties
   | 
ASP.NET AJAX UI Controls ASP.NET AJAX Chart UI Control ASP.NET AJAX Grid UI Control ASP.NET AJAX Barcode UI Control ASP.NET AJAX Button UI Control ASP.NET AJAX Calendar UI Control ASP.NET AJAX NavigationBar UI Control ASP.NET AJAX Captcha UI Control ASP.NET AJAX Color Editor UI Control ASP.NET AJAX ComboBox UI Control ASP.NET AJAX DataPager UI Control ASP.NET AJAX Dock UI Control ASP.NET AJAX DropDownList UI Control ASP.NET AJAX DropDownTree UI Control ASP.NET AJAX HtmlEditor UI Control ASP.NET AJAX FileManager UI Control OverviewGetting Started Features FilteringEdit SettingsStyle SkinsClient Prpgramming FileManager EventASP.NET AJAX Filter UI Control ASP.NET AJAX Input UI Control ASP.NET AJAX ListBox UI Control ASP.NET AJAX ListView UI Control ASP.NET AJAX ToolBar UI Control ASP.NET AJAX TabControl UI Control ASP.NET AJAX Menu UI Control ASP.NET AJAX ToolTip UI Control |